Resize an Image for an Upload Limit Without Guessing
Pixel dimensions and file size measure different things. Keep the aspect ratio, set a sensible output box and inspect each exported version instead of repeatedly shrinking at random.
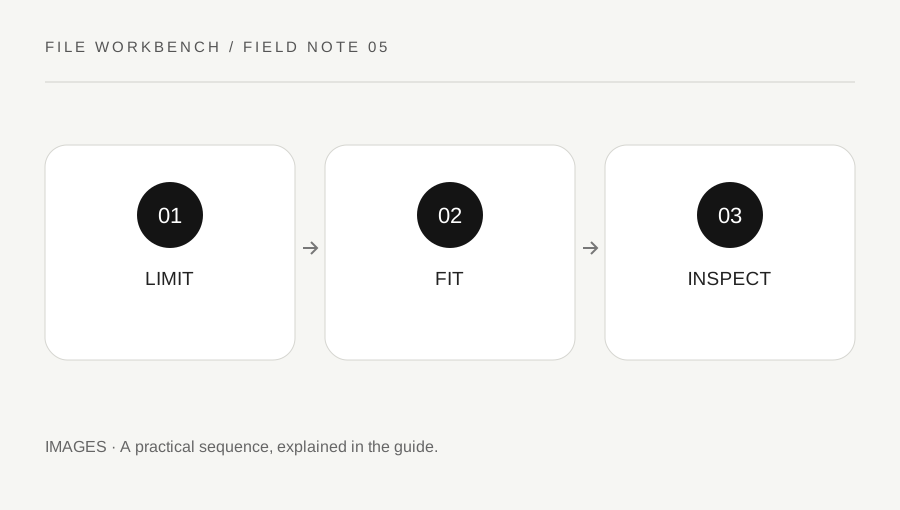
Original explanatory diagram. Numerical examples in this guide illustrate the reasoning; they are not a claim of hands-on testing.
Separate pixels from bytes
Pixel dimensions describe how many samples make up the image in width and height. File size describes how much storage its encoded form needs. Two images with identical dimensions can have very different byte sizes because of their content and encoding. An upload form may restrict either measure or both, so record its exact instructions before editing.
Check whether the form asks for a maximum dimension, an exact dimension, a shape such as square, or a maximum file size. This workbench fits an image inside a maximum width and height while preserving its aspect ratio. It does not crop to an exact shape or guarantee a target byte count. If a form requires a square portrait, use an appropriate crop workflow before relying on a fit-inside resize.
Choose a bounding box and preserve the original
Keep the original source and select one static JPEG, PNG or WebP image. Enter the maximum width and height allowed for your use. The workbench scales down only, so a smaller source is not enlarged merely to fill the box. This prevents a resize from creating a larger-looking file without creating real source detail.
For a landscape image of 2400 by 1600 pixels and a 1200 by 1200 box, the fitted result is 1200 by 800 pixels. The aspect ratio stays the same and neither dimension exceeds the box. This is an illustrative calculation, not a recommendation for every upload. If exact dimensions are required, a recipient may reject the 1200 by 800 result even though it fits the maximum limits.
Adjust one factor at a time
Choose an output format the destination accepts. For JPEG or supported WebP export, try a quality setting and inspect the downloaded result. A lower quality setting can reduce size with visible tradeoffs, but the relationship is not a promise of a particular number of kilobytes. For PNG, the quality control is not used as a lossy setting in this tool.
If the first copy is too large, compare a lower quality or a smaller bounding box, changing one factor at a time. Make sure small labels and important details remain readable. Do not keep resaving the last compressed copy when the original is available. Returning to the source for each attempt makes the comparison easier and avoids compounding losses unnecessarily.
Use an upload example with a review loop
Imagine a form that accepts JPEG, requires neither dimension to exceed 1600 pixels and limits the file to 800 kilobytes. Start from the original, use a 1600 by 1600 box and export a JPEG copy. Read the actual file size reported by the workbench and open the output. If it meets both limits and the required details are clear, try that file in the form.
If it exceeds the byte limit, try a lower quality from the same source and compare the appearance. If the detail becomes unacceptable before the limit is met, reassess dimensions or the form's requirements. The tool cannot decide whether a particular face, number or diagram remains sufficiently legible. Do not assume a successful upload means that the content is readable or that it meets all submission rules.
Inspect orientation and sensitive details
Check the saved copy for correct orientation, complete content and unintended transparency changes. Browser decoding and export can handle source details differently, so visual review is part of the workflow. This workbench does not promise to preserve original metadata or color profiles. If those are important for professional work, retain an appropriate original and use a dedicated editor.
Before sharing, inspect whether the image exposes addresses, account details, private messages or background information you did not intend to include. Resizing is not redaction: smaller text can still be readable when enlarged or processed. Use a proper editing and review process for sensitive material. Save the accepted version under a clear filename, keep the source separately, and remove unwanted temporary copies from shared download locations.
A practical checklist
Tick items for your own use. This checklist is saved only in this browser.
Questions that come up
Can the tool guarantee a file under 200 KB?
No. It reports the actual output size. Adjust format, dimensions or quality and review the result until it meets the requirement.
Will a small source be enlarged?
No. This workbench only scales down. Enlarging would not recover source detail and is outside its fit-inside workflow.
Is resizing the same as cropping?
No. Resizing here preserves the full image shape. Cropping removes part of the picture to change its composition or aspect ratio.
References & scope
Background references checked on 18 October 2026. The examples and practice exercises are original editorial explanations, not copied procedures or professional advice.